So to set the record straight, here you go. I saved up little bits here and there for months, I sold yarn I already owned, an exercise bike I wasn't using, and a book I had never used that is going for three times its original value on ebay and I am also helping to teach a young girl how to crochet every other week for an hour and I get a small sum for that too. Also the prices you may have seen on the sites I linked are most likely not the same ones that I paid on show day (for example the wollmeise yarn is technically seconds that isn't for sale on the general site and sells for much less) So does that clear things up and take away the behind my back comments? Did I do enough to save so that didn't make any impact on the family finances for that month? Every thing bill wise was paid on time. Job done.
If you truly resent my one child free day I have had in YEARS, that I scrimped and scraped for, then you need to look at yourself.
 | |||
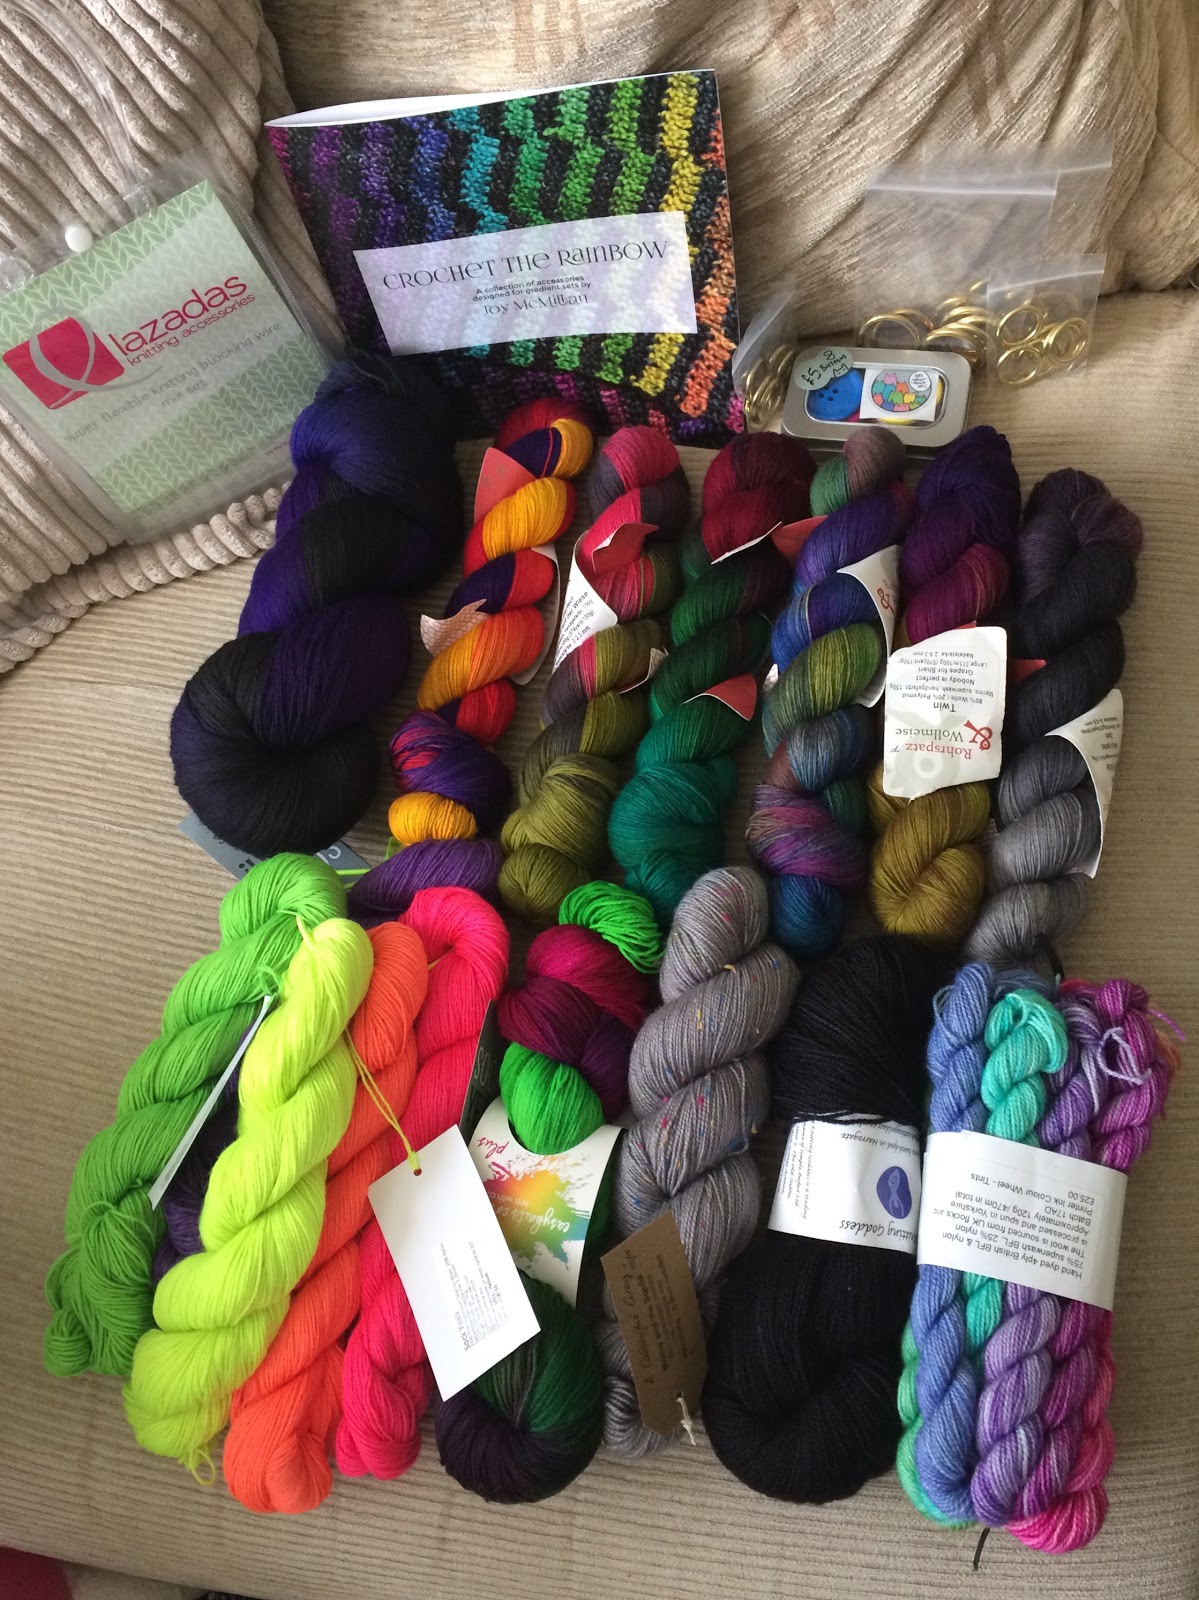
| My attempt at a yarn heart! |
I don't smoke, I barely drink, I don't spend money on makeup, I hardly buy clothes or shoes beyond what I need, yarn is almost the only thing I buy for my self, its like a separate hobby in its own way as I buy yarn with no project in mind, just because! I rarely have any time to myself, I am on duty as a parent 24/7, any time I leave the house there is at least one child with me. I get no breaks, Edinburgh was the first day off I had in years, I honestly can not remember the last time I left the house alone, for some thing that was just for me. I think I might have earned my one day off. If it makes me a poor sort of person, then so be it.
ETA
When I made this blog post I only had a feeling some thing was in the air, I could tell some thing was wrong and I took a stab in the dark, hoping to flush out any issues lurking in the background, I am sad to say I was right and instead of talking to me face to face, I had to make guesses at what the problem was, until it was confirmed, I had no idea that there really was some one with a problem, but apparently my 6th sense knew better. Was the blog post a good idea? I don't know, all I am sure of is that if any one has any issues with me, talk to me, don't talk behind my back about my personal life, dragging others in to the fray who are now upset at their involvement, who have now caused upset in their own way, be grown up about it and own your feelings, you may not like the fact I went public, but I didn't know if it was true until it was confirmed by others, it would never have gone this far had you not kept quiet.